History sometimes gets a bit tatty around the edges. Most of the documents we look after were originally created as working items, things to be used, referred to, added to, amended, and carried around.
Wear and tear is inevitable, but fortunately modern conservation techniques can make once fragile documents much stronger again and allow us to make them accessible to researchers.
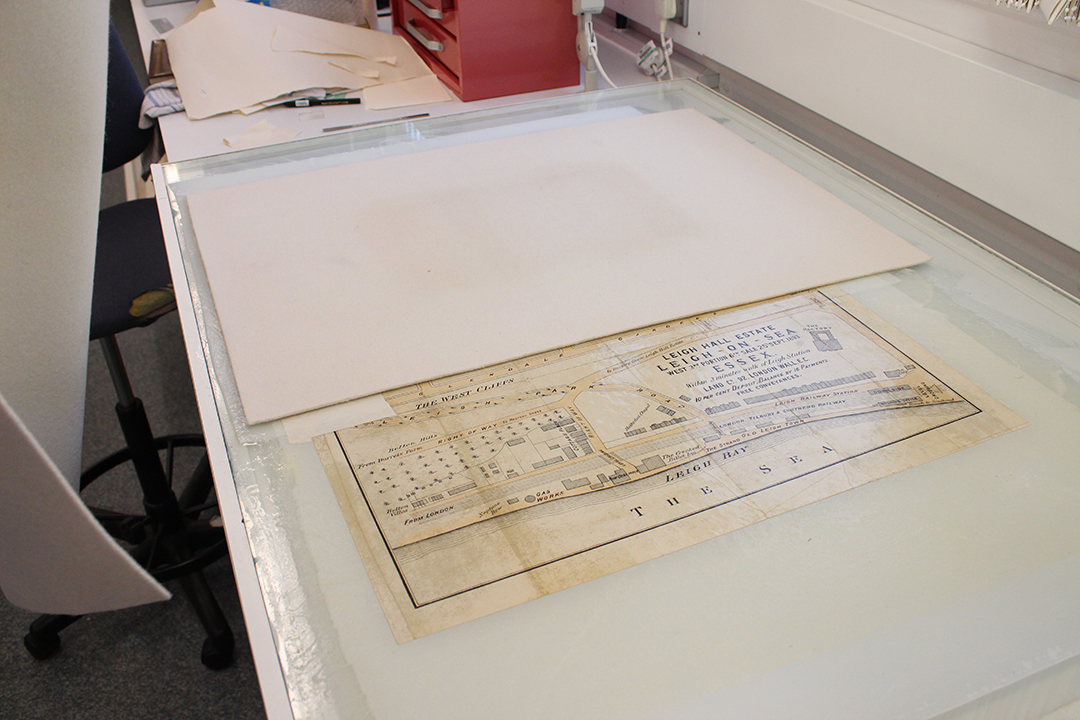
This map shows a plan of a late Victorian development in Leigh-on-Sea that will be on display at Leigh-on-Sea on the Map on Saturday 18 February 2017. It dates from 1893, and had several small splits in it and a rather large hole on one edge. To make it ready for display we took it to our expert conservator Diane Taylor. This short photo story will take you through the process of how the biggest hole in the map was repaired.
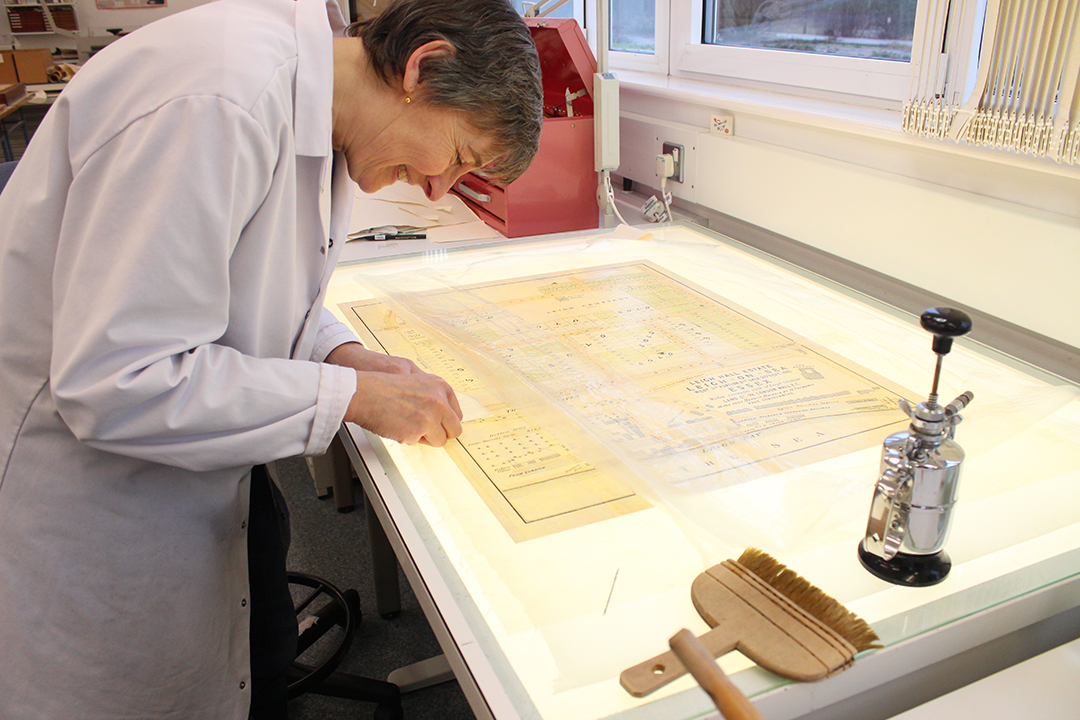
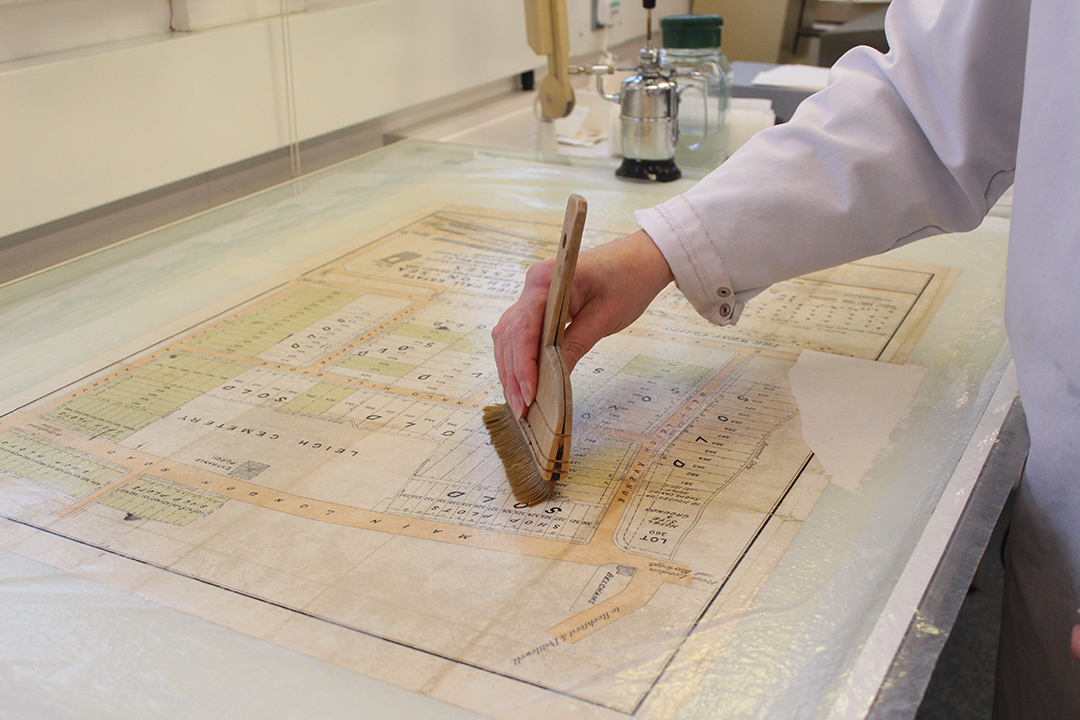
Senior Conservator Diane Taylor working on a plan of the Victorian development of the Leigh Hall Estate, dating from 1893 (D/DS 365/2/1). The map shows part of an important stage in the development of the town, when open land was sold off in plots for new houses to be built.
The process begins with preparing a sheet of Japanese tissue paper, a very fine but strong tissue paper which will be used as a backing for the map to give it strength. The tissue is laid onto the glass surface of a large light box, and sprayed with a fine mist of distilled water, then covered with an even layer of wheat starch paste, which will act as an adhesive. The map itself is then also sprayed with distilled water and laid on top of the tissue (the idea of getting documents wet sounds alarming, but many kinds of older paper and ink can get wet without disintegrating). The map is then covered in a sheet of transparent polythene and smoothed down with a wide flat brush.
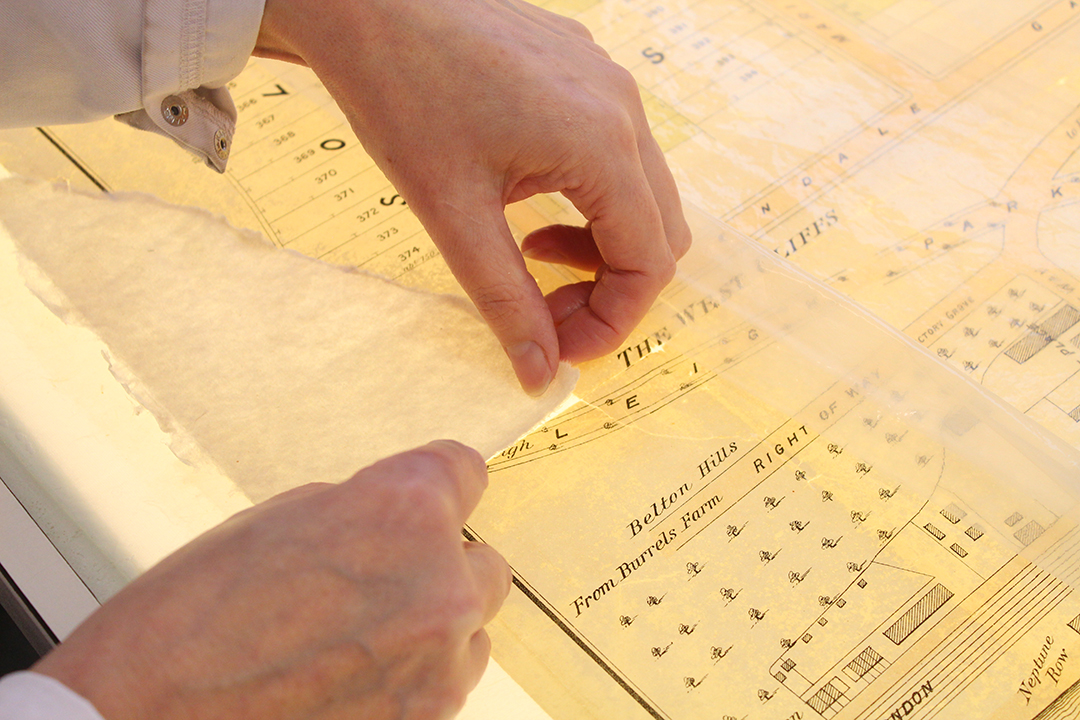
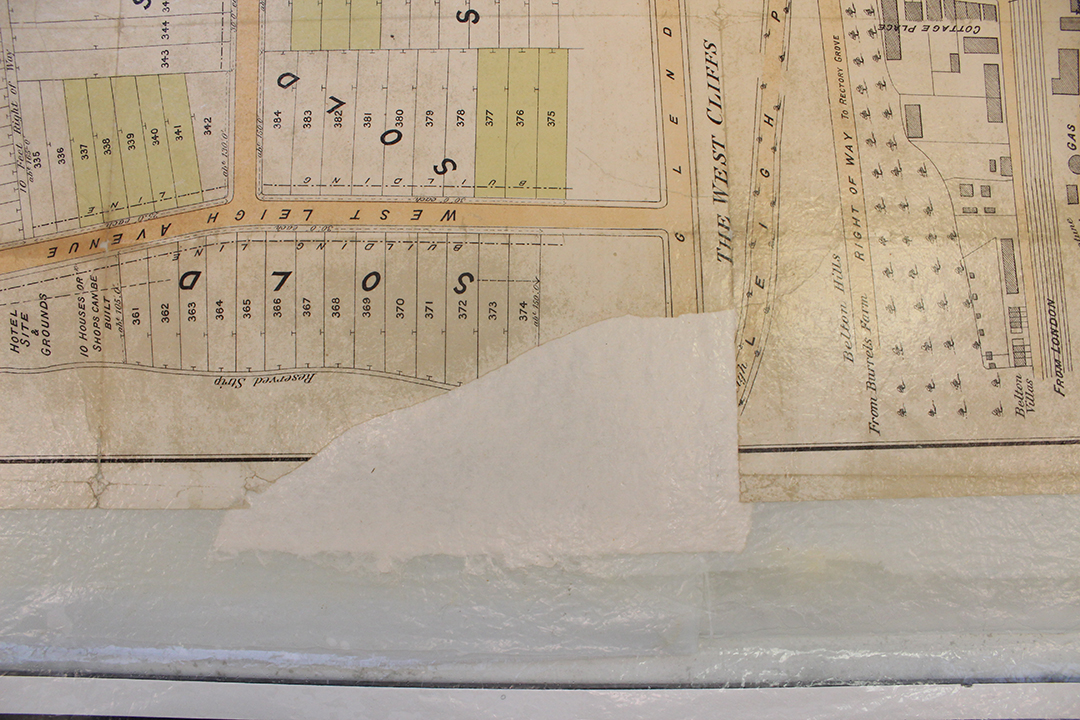
Diane carefully shapes a piece of new, traditionally-made paper to fit the hole as precisely as possible, with just a small overlap. Wheat starch paste adhesive is used to adhere the infill to the map and the tissue backing.
Using the light box, Diane closely examines the other smaller splits in the map and makes sure they are all closed up and securely adhered to the tissue backing.
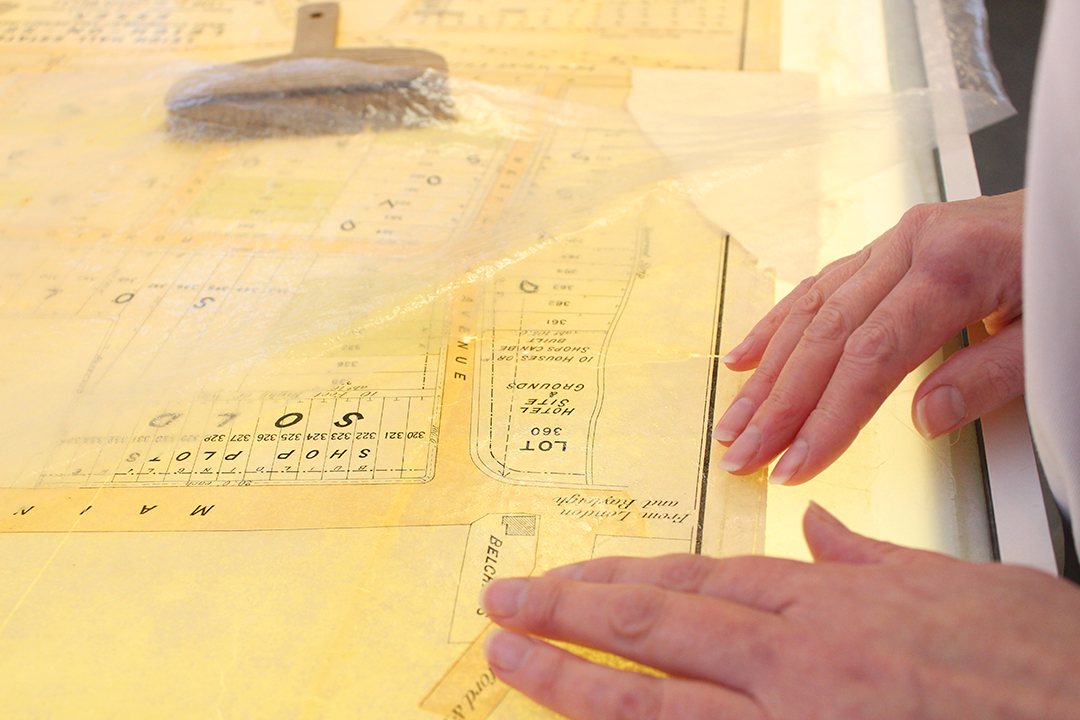
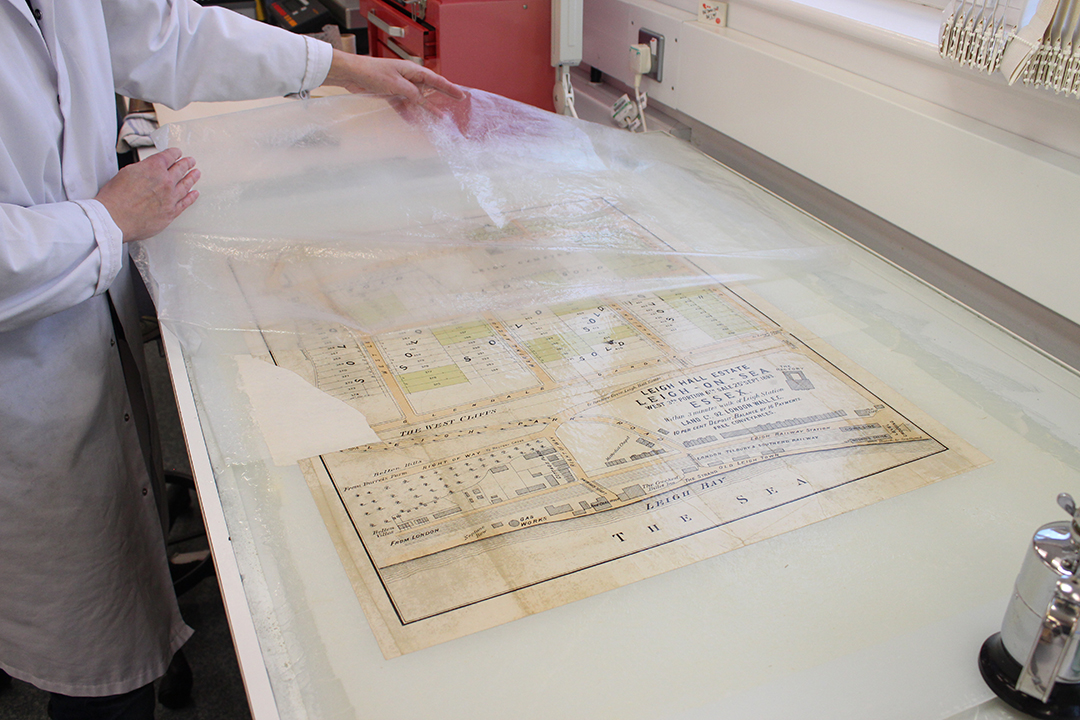
Once the infill is in place and the splits carefully realigned, the map is again covered with the polythene sheet and a wide brush is used to smooth everything down.
The main repair will now need to be left to dry, and the edge of the piece of infill will then be trimmed to be flush with the edge of the map.
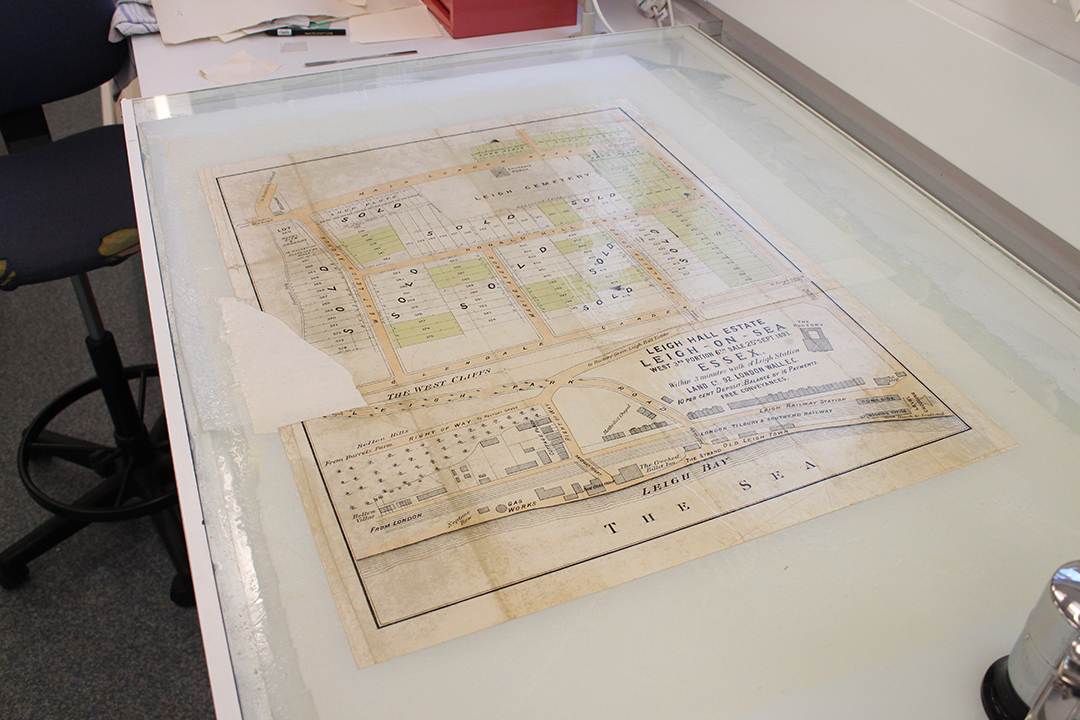
The polythene is peeled back to reveal a repaired but wet map.
The map is covered with thick felts to absorb the water and begin the drying process.
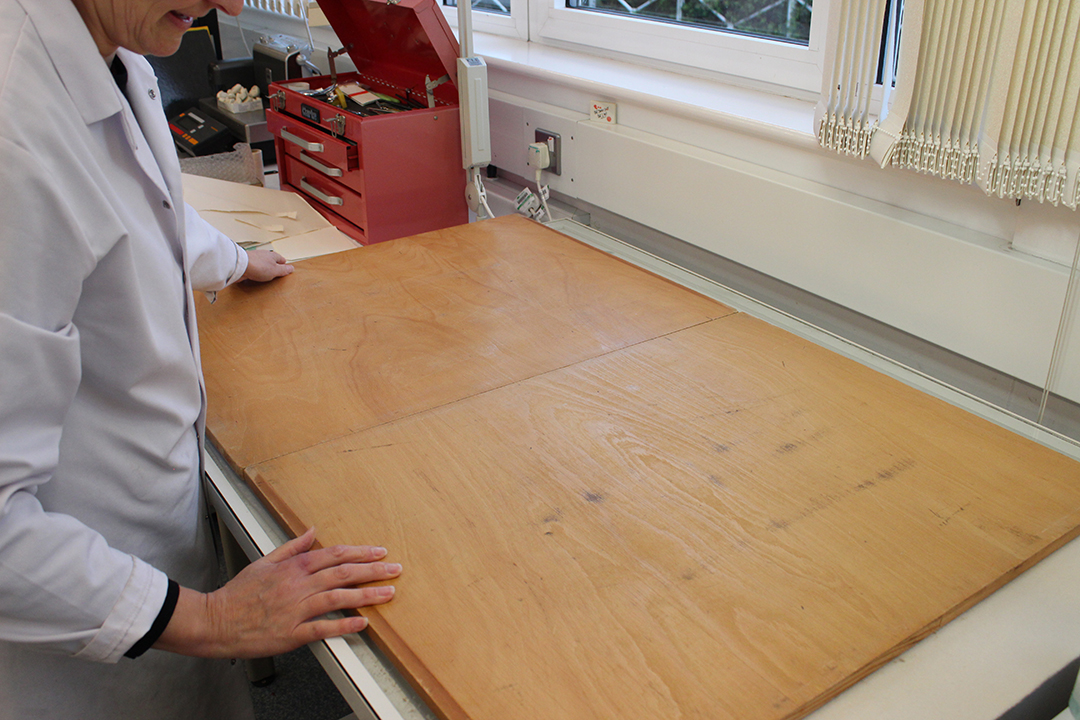
Wooden boards are placed over the felts to press them and draw water out of the map.
After drying, the edges of the tissue backing and the infill repair will be trimmed, and the map will be clean and strong and ready for researchers to use.
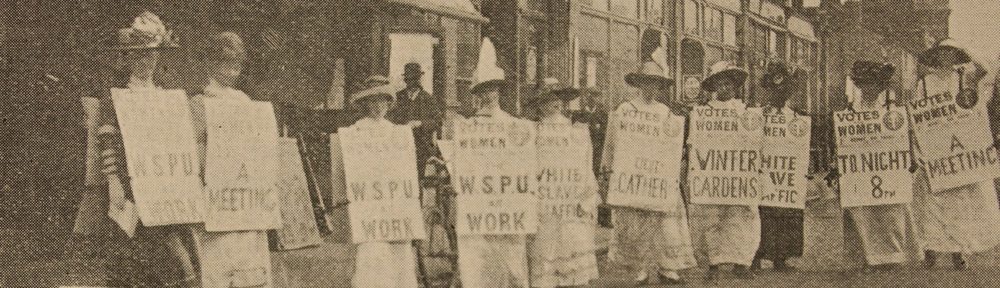
Join us at Leigh-on-Sea on the Map on Saturday 18 February 2017 at The Forum in Southend to see this map alongside several others tracing the development of Leigh from a small fishing village to the town we see today. Find full details here.