During our project You Are Hear: sound and sense of place, funded by the Heritage Lottery Fund, we aimed to digitise some 1,800 recordings from the Essex Sound and Video Archive (ESVA), and made them available for free through Essex Archives Online, and on SoundCloud and YouTube. But how does the digitisation process actually happen? Sound technician Catherine Norris, who has ploughed nobly through hours and hours of ESVA recordings to digitise them for You Are Hear, is here to tell us.
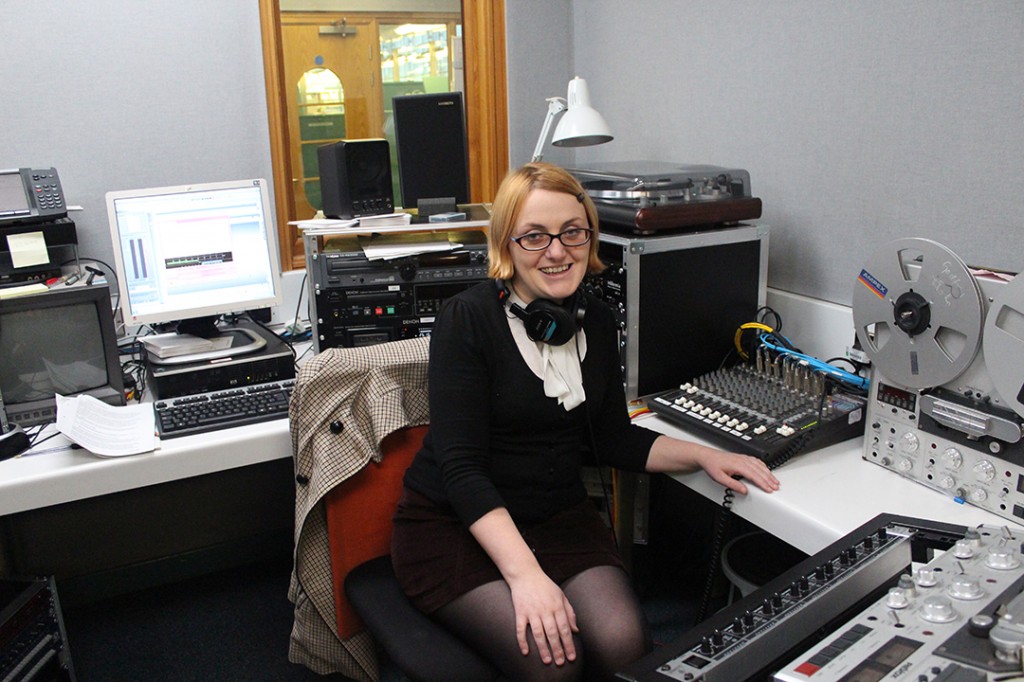
Catherine all smiles at the beginning of the project ensconced in one of our sound studios
It’s hard to believe that almost three years have gone by since I started working on the You Are Hear (YAH) project. It’s been a journey that has involved digitising analogue formats using many different vintage players along with digital interfaces to ensure the best digital version of the original source.
Over the course of the project I have dipped into many of our Sound Archive collections and by doing so I have learnt a lot about Essex’s heritage though oral history, music, radio broadcasts and videos. I have also enhanced my skills as a sound engineer and as a digitiser.
I have enjoyed the many different aspects of working on the project, from being involved in the digitisation process; to giving a speech at the launch of the Essex Sounds audio map; going to see listening bench launches in Galleywood and Chelmsford and chatting to the volunteers involved; and also organising and running a successful sound walk in Chelmsford.
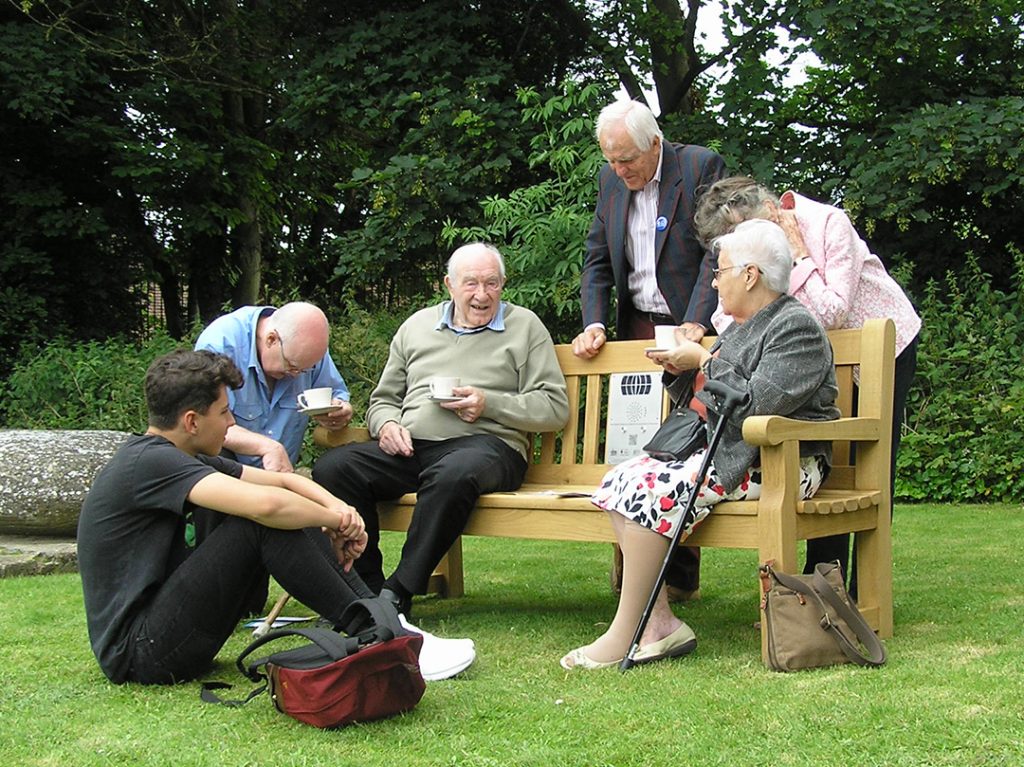
Residents enjoying a cup of tea at the launch of the Saffron Walden listening bench. 20 benches are now in place around the county loaded with recordings that Catherine has digitised
YAH project officer Sarah-Joy Maddeaux has kept me busy and given me a steady workflow throughout and chose the content that was to be used on our audio-video kiosks, listening benches and Essex Sounds map. It has been my job to make sure I digitised the content for when she needed it by, so that it could be used for the part of the project that it was required for.
There have been different parts to my role, not just the digitisation process – but this is of course an incredibly important part. With everything that I have worked on, if I don’t get that part right everything that comes after it would not have panned out the way it should have done.
The digitisation process starts with locating and retrieving the audio and video material from storage, then checking and making sure that it is playable. Once the material has been prepared I check that I have all the equipment that I need to do the job.
For digitisation to take place I use a mixture of old and new equipment depending on what the material is that I am digitising. During the course of the project, for the majority of the content I have digitised I have used Denon cassette players, Revox reel machines and VHS players.
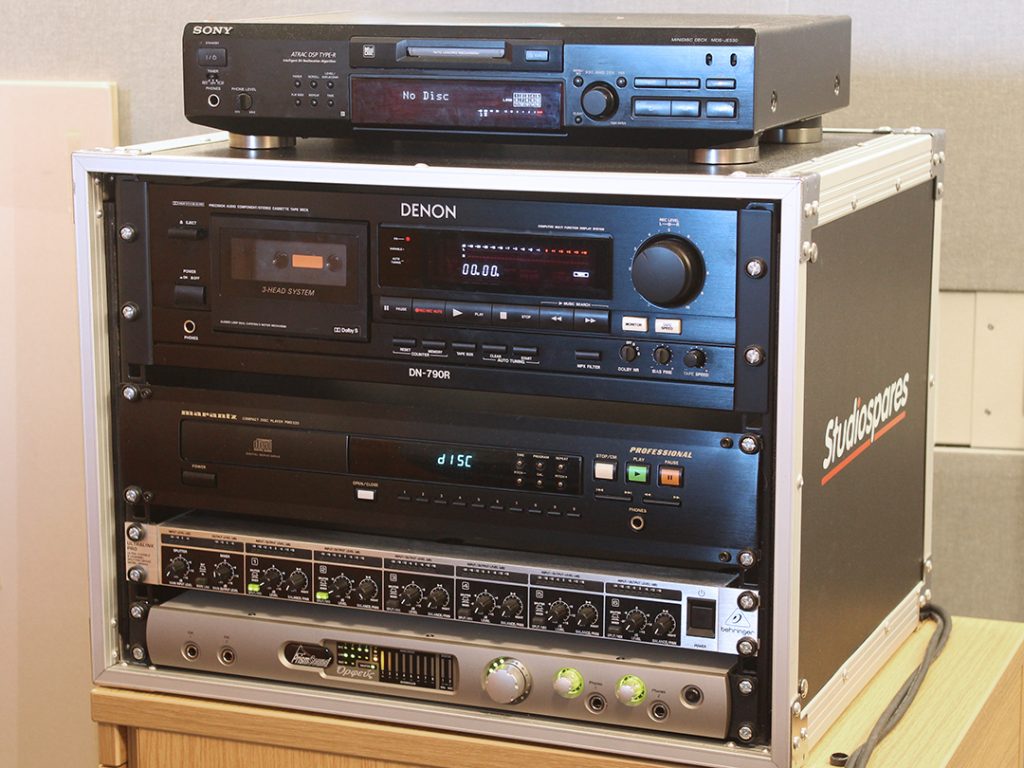
A unit containing (from top to bottom), a mini disc player, a cassette player, a compact disc player, a sound mixer, and a digital interface
The ReVox reel to reel machine:


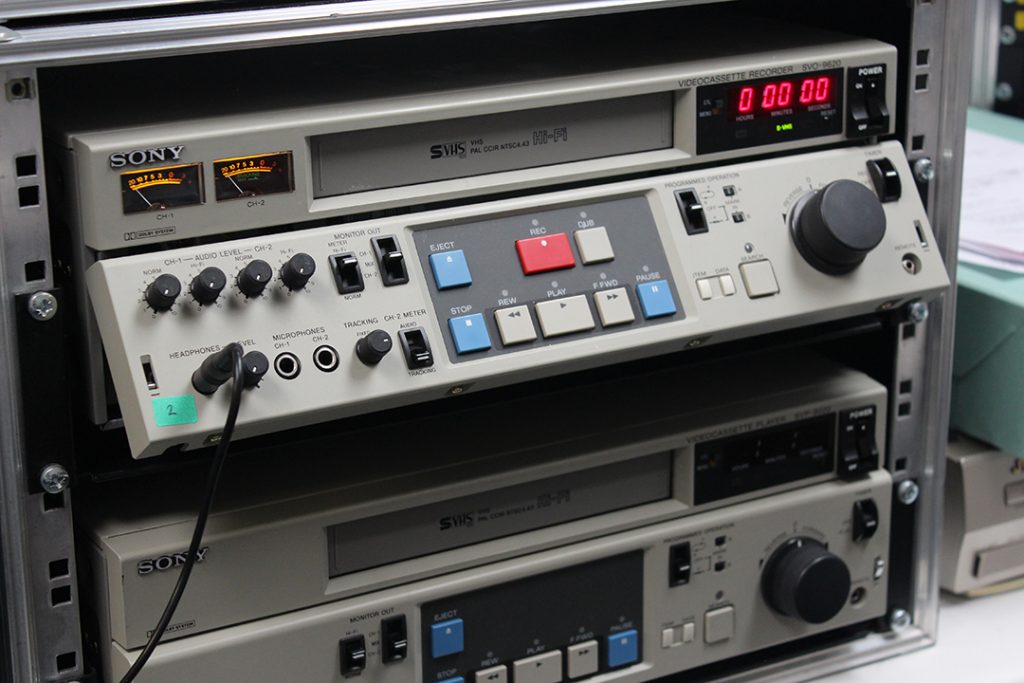
A VHS player – who remembers these?
My personal favourite has to be our Sony Stereo Tapecorder (TC-630). It has lots of quirks about it and if a machine could have a personality then this one does, it certainly kept me on my toes whist I was using it!


When setting up the equipment I also have to make sure that it is cleaned before placing the material waiting to be digitised onto or into it. To do this I soak a cotton swab in an electronic cleaning solvent and use it to clean the parts of the machine where the tape will touch. It is important to do this before a digitisation but I also do this afterwards so that the equipment is well looked after and so that dirt is not left to get stuck in the tape heads.
To turn the analogue signal into a digital signal we use a digital interface. We have two, one for each studio at the Essex Sound and Video Archive. We have the Apogee Rosetta and the Prism Sound Orpheus. Both of these take an analogue signal (electromagnetic signals on tape) and convert it to digital (a series of 1s and 0s that can be read by a computer). I also use cables, a sound mixer and speakers to hear what I am doing, and a level mixer (Behringer Ultralink Pro) so I can change the signal if it is too high or low. I use a PC and a Digital Audio Workstation (DAW) which allows me to record the digital version of an analogue recording. My main aim is to capture the best version I possibly can of an analogue recording, and the equipment in our studios has made sure that I have been able to do that.
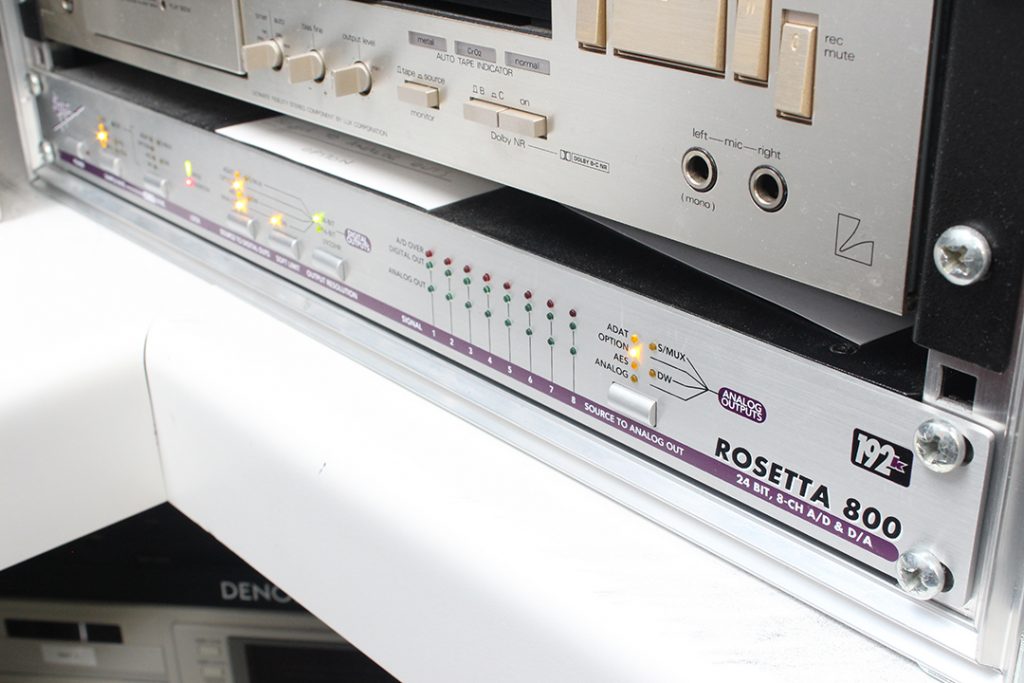
The Rosetta 800 digital interface, which converts analogue signals into digital information
With each piece of work once a Master digital copy has been created, an access copy (MP3 for sound, or MP4 for video)) is next to do. I would have to access the original digital version (WAV for sound, AVI for Video) and see if there was anything I could to enhance it using a DAW. For example if there is a lot of distortion I can use various techniques in audio editing software to reduce the effect it has on the recording. Also if needed there are techniques I can use to change amplitude and compression and noise reduction.
For the project I have also created digital clips of audio and film if the whole version is not required for the benches and kiosks. I also extract picture stills from films and take photographs and scans of items with picture covers.
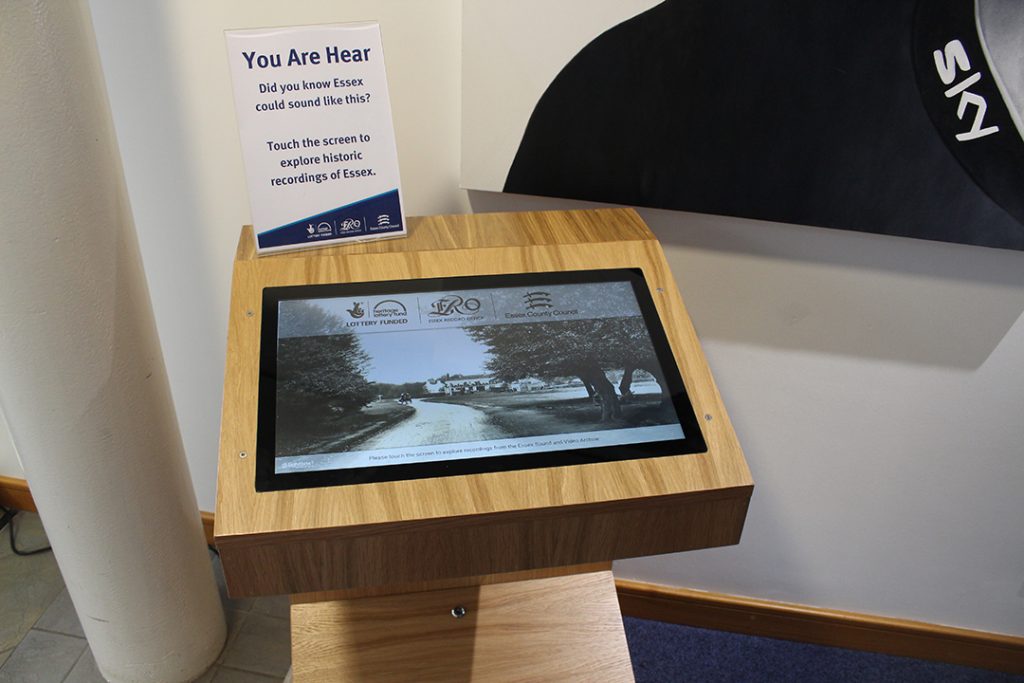
One of the You Are Hear kiosks at ERO – two others can be found at Saffron Walden Library and Harlow Museum
Throughout all the different processes I collate and write down information about each item. This information is added to a metadata spreadsheet where the information is kept, to help continue monitoring and preserving the digital files.
During the project I have dipped in and out of the collection Acc. SA654 which contains boxes of different BBC Essex recordings. A box which I have digitised a few recordings from during the project is Sound Of Essex. As we have come to the end of the project Sarah-Joy and I discussed what I could finish with and decided that this was good box to complete. It is a box of 31 Zonal 675 Five Inch spool, matt backed, standard play 1/4 inch tape reels that contain interesting recordings of people accents from around the county.
While I was digitising the reels we thought it would be useful to film parts of the process as a guide to show how I digitised the reels in the Sound of Essex box.
Preparing the Reel Machine for Digitisation.
Before using a reel machine it must be prepared for use by cleaning the tape heads and areas where the tape and reels will be touching.
1 Dip a cotton swab in Iso-Propyl alcohol
2 Clean the spindles, tape heads and all areas where the reel and tape may touch.
3 Use as many cotton swabs dipped in Iso-Propyl alcohol as necessary to make sure that the machine is ready to be used.
Setting up the Tape Reel Machine
The tape reel machine is key in providing the analogue signal that needs to be digitised. I place an empty reel on the second spindle.
1 On the first spindle place the reel you wish to digitise.
2 Use the guide table to thread through past the tape heads to and around the empty reel.
3 Make sure both reels are secure and that the centres are locked in place.
Creating a Digital Signal
For preservation purposes I forward and rewind the reel and briefly test the recording levels.
To create a digital signal we use –
1 The Behringer Ultralink Pro (Level Mixer) to adjust the recording levels. This is connected to the reel machine.
2 The Prism Sound Orpheus (Digital Interface) to change the analogue signal to a digital signal.
3 By using cables the digital signal is sent from the digital interface to the computer and is recorded using a digital audio workstation.
4 Once setup is complete press record on your DAW (Wavelab 8.5) and press play on the tape machine.
The Library Wind
Once digitisation is complete I can then save my master wav file and begin the next part of the process.
Part of preservation for tape reels is the library wind. We do not use the rewind button as we want the reel to be rewound in real time.
1 Take the empty reel off the first spindle.
2 Turn over the full reel and place it on the first spindle.
3 Place the empty reel on the second spindle.
4 Carefully thread the tape thread through past the tape heads to and around the empty reel.
5 Make sure both reels are secure and that the centres are locked in place.
6 Press play and continue until you reach the end of the tape.
7 Tape reel is now ready to be repackaged.
I have learnt so much over the course of the project and have enjoyed all the different aspects of digitisation but it was nice to finish with such an interesting box of reels. The digital versions of these recordings, along with hundreds of hours of other recordings, can for found on the ERO’s SoundCloud channel:
We hope that people across Essex, and beyond, will enjoy the results of the You Are Hear project for many years to come!
![]()
Many thanks for this really interesting insight into how the many past recording mechanisms have been utilised to create a common medium. I hope ERO and similar organisations have an appropriately-funded programme that ensures today’s storage media and software are rolled forward for future generations.
My personal experience of 1990s spreadsheets and text documents has shown how easy it is to lose that data because later software just doesn’t recognise it.